
Open registration and share the signup link
Set up public signups, switch the tournament to Registration, and review signups before generating the draw.
Before you begin
A tournament you can manage. Registration is not an online payment collection tool.
- 1
Turn on signups
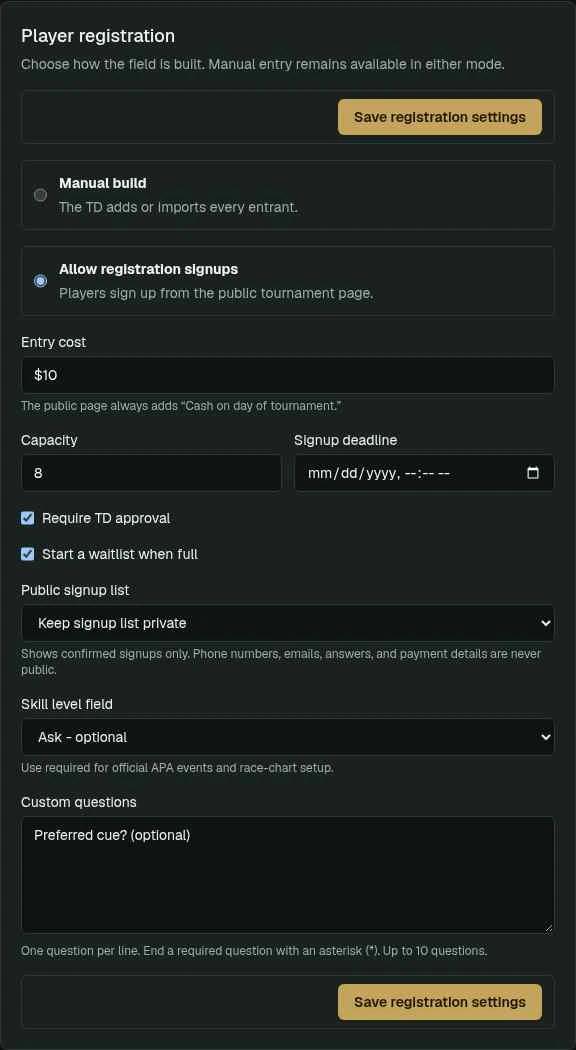
Settings → Registration: allow signups, set entry cost (cash on the day), capacity, deadline, approval, waitlist, signup-list visibility, skill field, and up to ten custom questions. Select Save registration settings.
Settings → Registration. Allow signups, set cost, capacity and approval, add questions, then Save registration settings. - 2
Set status to Registration
Use the Change status control on the Director tournament list to set Registration. Saving settings alone does not open signups, and a Draft event is not public.
- 3
Share the public page
Players use the tournament public page and do not need an account.
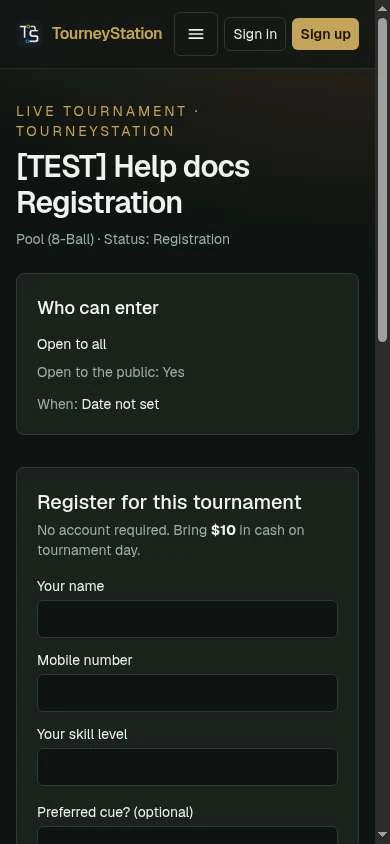
Players register from the public page. No account is needed and the entry cost is paid in cash at the event. - 4
Review registrations
Confirm, waitlist, or decline registrations, then generate the bracket as usual. Director and Venue plans can optionally apply a registration template.
What to check afterward
Players can submit signups from the public page while directors retain control of approval and bracket generation.